
Next week Jack is going to start attending a Mother’s Day Out program. I went back to work part time when he was three months old but he’s always been in in-home care. This is our first time that he’ll be with a group of other kids in a daycare-like setting and I actually think he’ll really enjoy it. I always notice that he’s less clingy and more willing to play independently when there are lots of other people around. I guess there’s just so much to see and do! So anyway, one thing that kind of caught me off guard about this MDO program is that there’s a specific set of things I need to provide (crib sheet, blanket, etc.) and everything has to be labeled. I could just write his name everywhere with a sharpie and call it a day, but do you know me it all? It needs to be cute. Plus the idea of permanently altering baby items with monograms or handwritten names has always struck me as wasteful-it’s kind of awkward to consign, resell, or pass down something with your kid’s name on it!  So I brainstormed a method for attaching a cute fabric label that can be removed with a seam ripper. All you need is some fabric and iron-on transfer paper.
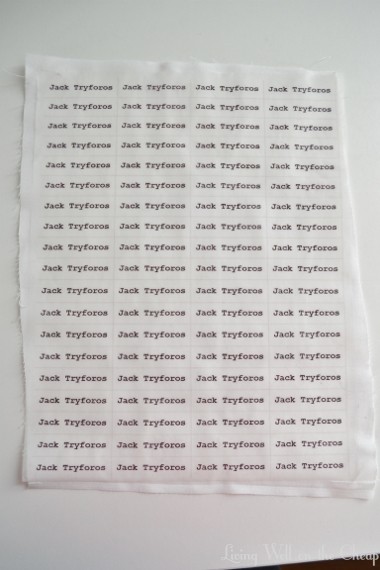
First, I created an image with his name in a grid. To do this I made a table in Publisher, saved it as an image, then used paint to flip it so it would print in reverse. If I’m being honest, I forgot to print it in reverse the first time and wasted an entire sheet of transfer paper. It happens to the best of us.

Then I simply cut a rectangle of white muslin I already had (you could use any light colored fabric, even an old t-shirt) and followed the instructions that came with the transfer paper to iron the image onto the fabric.
Then all that was left to do was cut out a label and sew it onto Jack’s blanket. I didn’t stress about sewing a perfect rectangle, I just tried to make a reasonably neat box around his name and then I cut off all the excess fabric around the outside. I actually love the way it looks.

So for the cost of some transfer paper (I already had it but you can get some for less than $10) and some spare time on my Sunday afternoon I now have more than 70 labels that I can attach to anything fabric throughout the rest of his childhood. They can be washed and worn and as Jack grows I can use a seam ripper to remove them with no significant damage to the item. If you don’t have a sewing machine these would be easy enough to hand stitch or you could use some fusible web to iron it on if you’re not worried about wanting to remove it someday. Or maybe even fabric glue! I think that stitching is the best option though.
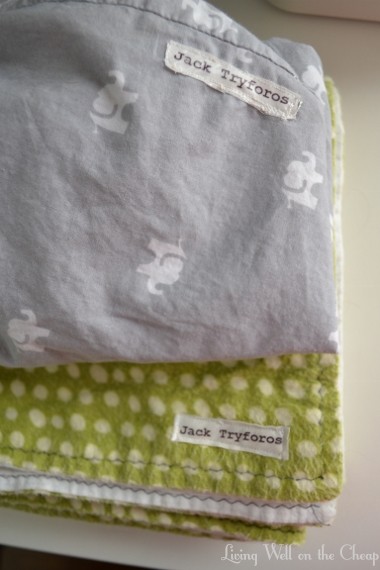
I attached labels to his blanket, the crib sheet I bought just for MDO (I decided it was too stressful for me to have one of his two regular crib sheets clean and not on his bed every week), his little paci blanket thingie, and when the adorable little backpack I ordered him comes tomorrow I’ll put a label on that too. I also ordered some of these erasable food labels for his pacifiers and sippy cups-the pack of 70 is obviously way more than I need just for him but I figure I can use them in the kitchen, around the house, etc. Yay organization! I love having things neatly folded and labeled just so.
I hope y’all had a wonderful weekend. We attended a beautiful memorial service for my grandfather, enjoyed visiting with family, and finished season 1 of House of Cards. I can’t believe we have to wait until next year for season 2! Hopefully I can talk Nick into taking up Orange is the New Black with me. I love summer TV.


Love this idea! What font and type size did you use?
Thanks, Tracy! I used Courier New in 16pt.