
More than a year after embarking on this gig called motherhood I am still struggling with the task of keeping my little man organized. Poor Nick can’t keep up with all the new systems I put in place to try to streamline the clothes, the toys, the diaper bag, etc. We’ve reached a breaking point and I am on the verge of a big purge. The guest room is packed with piles of stuff I need to sort through to store or donate, but before I tackle it I want to make sure I’ve got everything in his room exactly how I want it. No sense in storing away all those outgrown clothes only to find something I missed at the bottom of a drawer, right? Leave it to the perfectionist in me to rationalize why I should be making cute closet dividers instead of sorting through the pile of crap in the spare room.
The closet dividers are necessary because until recently we’ve kept the majority of Jack’s clothes in his dresser. I don’t know why I ever thought that was a good idea. Especially as we move into the unpredictable fall/winter, I need to be able to see his clothing without rifling through piles. It’s not at all uncommon in Louisiana to be bundled up in October but wearing short sleeves on Christmas, so bring able to assess what’s warm and what’s not at a glance is key. The second problem is that I have had a hard time to date with keeping track of what’s almost too small, what fits just right, and what’s not yet grown into. Enter the closet divider. There’s a vast selection of cute ones on Etsy and The Container Store has some blank ones for only .99 each, but with no Container Store near me and no patience for waiting for shipping I decided to make some myself with supplies already had.
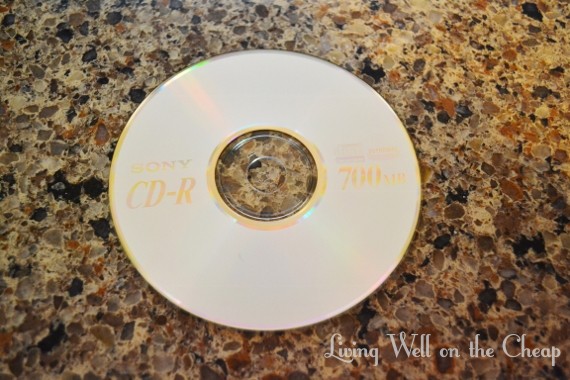
I’ve got a huge stack of these blank CD’s that I bought years ago because I needed just one. I feel certain I’ll never use them all, so I didn’t mind sacrificing a few to the cause. If you don’t have any CD’s you don’t mind ruining, you could use cardboard, foam core, or even thick cardstock instead.
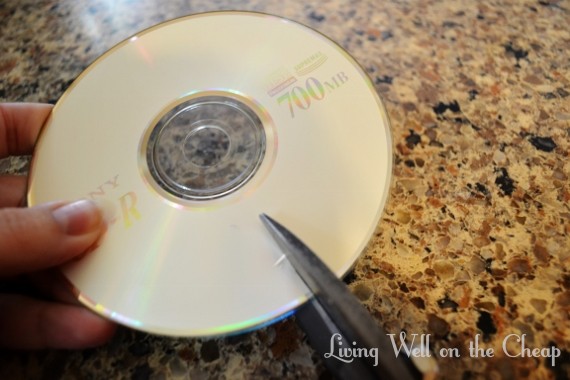
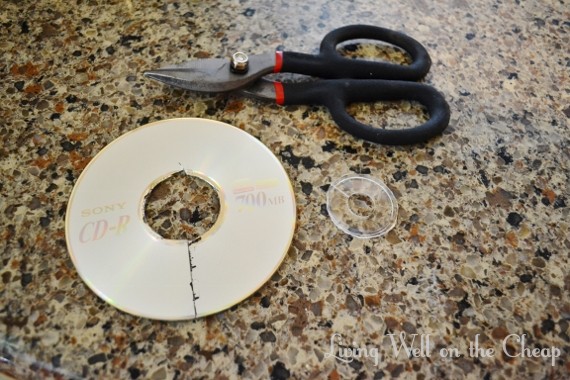
I used a set of wire snips to cut a slit at the bottom, then a circle from the center. If you don’t have wire snips some sturdy scissors or some sort of scoring tool may work even better.
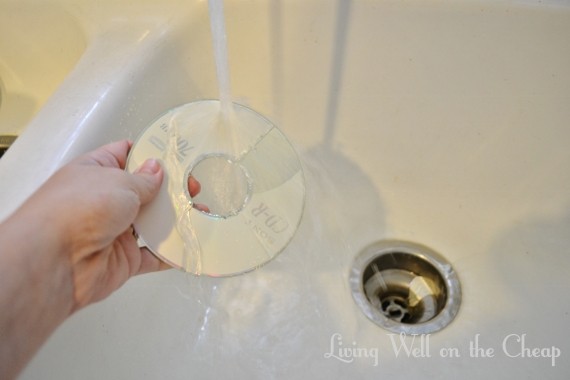
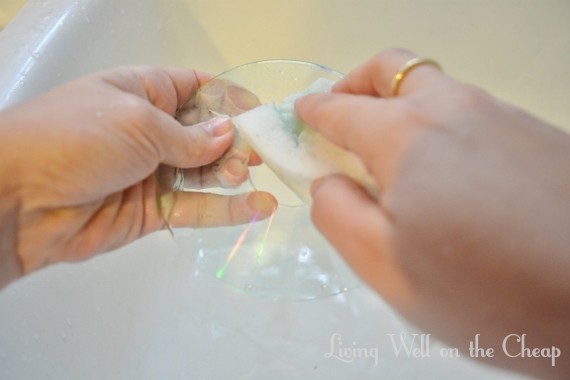
The metallic film came off in large chunks under warm running water, then I used a magic eraser to scrub away the blue-green coating and any bits of foil that remained.
With the plastic all cleaned up, I used a nail file to smooth the edges that I’d cut. I’m not trying to win any beauty pageants here; I just wanted to remove any bits that might scratch me.

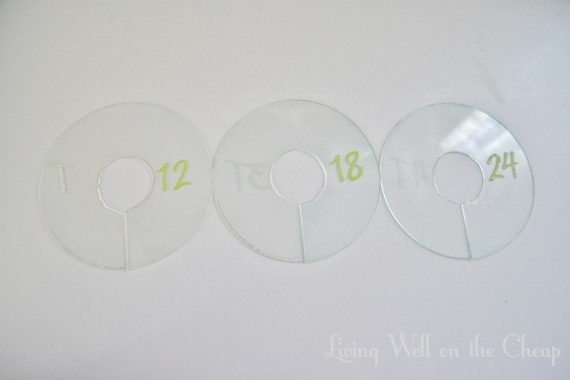
I repeated this process on three disks, then used scrapbook letters to label them with the three sizes that are most relevant to us right now-the size he’s growing out of, the size he’s currently in, and the next size up.
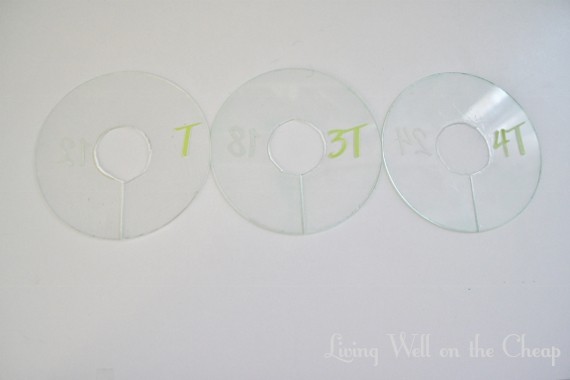
AND THEN I flipped them over and labeled the reverse with the next three sizes. When he completely outgrows all his 12 month clothes I’ll steal the 2 (I ran out of 2′s on my sheet of scrapbook letters), stick it next to that T, and put it at the other end of the closet to be 2T. Likewise, 18 months will become 3T and 24 months will become 4T. Genius, no?
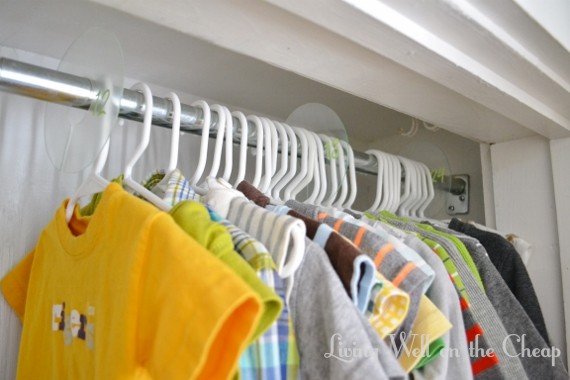
Here they are in his closet! I’m pretty sure this system will be easier for Nick to keep up with than “the ones I like best go on the right side of the drawer, the ones that are kind of ugly but I need for when I’m behind on laundry go on the left side of the drawer.” If he can just read the labels and put them in the proper sections I can pick out what’s cute/weather appropriate easily and also see when it’s time to go ahead and pack away that outgrown size. Here’s to hoping.
If you have any tips for managing the chaos of kid clothes pleeeaaassse share. I’m drowning in hand-me-downs to-be-handed-downs.


Morning Charlotte, I have a six-year-old boy. I have never hung up any of his clothes. Those that are in season and the right size go into the three drawers of his dresser. The top drawer holds his PJs, underwear, and socks; the middle drawer holds his pants, shorts, and swim trunks; and the bottom drawer holds his shirts. Things that are too big go in plastic bins with lids - they are stored in the top shelf of his closet. The same for out-of-season clothes that will fit him when the season rolls around. Things he no longer likes or don’t fit him any longer go into a Good Will type piles to be removed from the home. What happens with the rest of his closet space? We’ve put shelves in - his toys, books, even some artwork - all have a place there. When he was little we took the closet doors off to make it easier for him. Now that he’s older the closet doors are on … he chooses if he wants them open or closed. Daddy even made a desk-height shelf so that he can sit and play right in his closet! I try to keep the number of clothes to my washing week … so seven pants, seven or so tops … you get the picture. Extras go in those bins in the closet. Hope that gives you some ideas for your little guy.
Oh, I love that idea! So you don’t save his outgrown clothes to hand down? I’m really tempted to put shelves in at least the lower half of Jack’s closet now.