
Way back in April Nick’s parents gave us a pair of twin beds that their boys slept in when they were kids. I used gel stain to darken the wood and then had to wait a while until we could get a mattress and hardware.
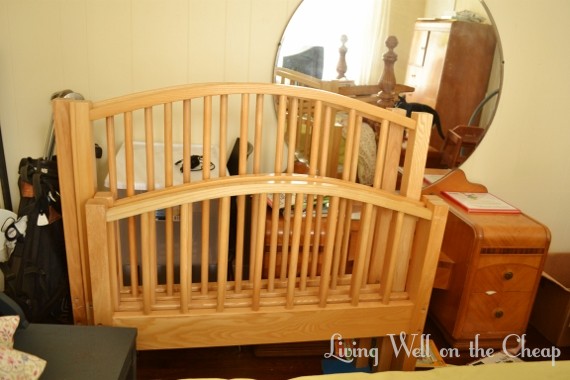
The stars aligned this weekend and Nick was able to bring a truck home from work on a weekend when we already had plans to visit his parents about an hour away. They had a twin mattress that wasn’t being used so we loaded it up. We decided to only set up one of the beds for now because Jack’s room is so small. Someday we may move him into the larger guest room and set both beds up then, but for now one bed is plenty. These beds have been in storage for a while and the accompanying hardware is nowhere to be found. I tried tracking down replacement hardware, but from what I understand there is no standard sizing for these sorts of fasteners and the company that made the beds has since gone out of business.

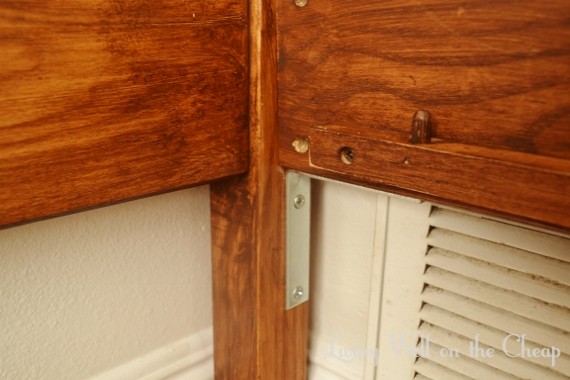
I decided to just attach the rails with some sturdy brackets instead. Nick and I measured, marked, and drilled until brackets were attached to all four posts, then measured and pre-drilled holes in the rails before attaching them in place. I’m considering adding another small bracket on the top or side at each corner but they’re surprisingly sturdy as is.

The bed came with a set of slats and what google tells me is called a “bunky board.” I love that it offers more support than slats alone without the bulk of a boxspring.
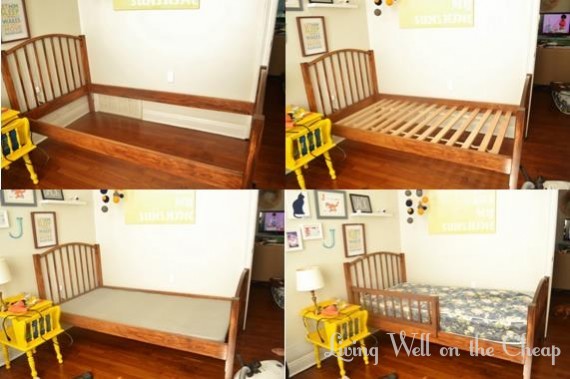
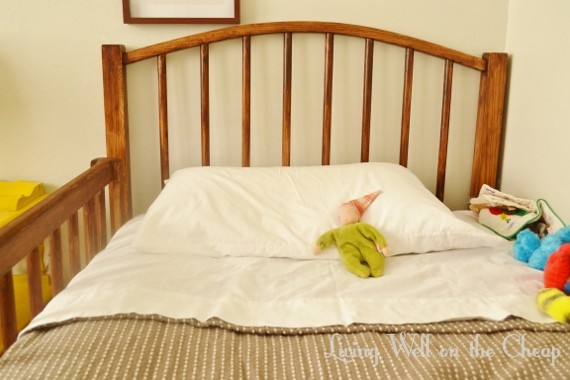
I made up the bed with a set of basic white sheets and this blanket (in gray pickstitch). It’s so much softer and cozier than anything I saw in the kids’ section and I love the way it looks.
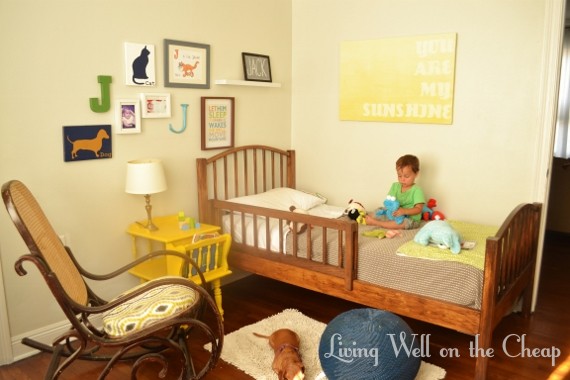
Jack was really excited about making the move into his new bed! I think it helped that my mom got him this book for his birthday a few weeks ago. Here he is at bedtime on that first night (Sunday).
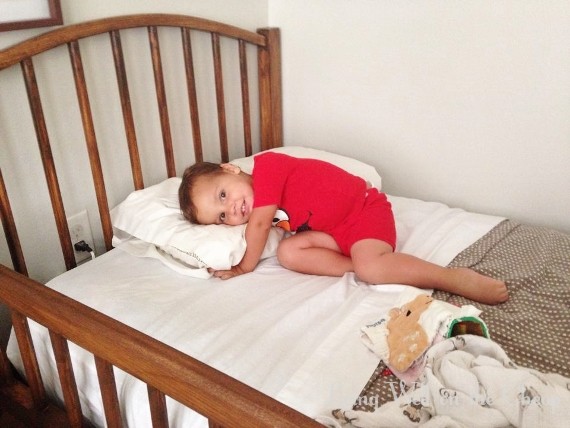
As excited as he was, he definitely needed a little more support falling asleep that night. I ended up laying down with him for a little while, then sitting in the chair, then sitting in the living room with his bedroom door open and telling him to lay back down whenever I saw him sit up on the video monitor. But I am shocked to report that he never got out of bed! Even in the morning! I’m also hopeful that we won’t need the guardrail for long, but I’ll watch him carefully for a while to be sure. He hasn’t moved around much at all so far. I still need to add a waterproof mattress cover and contraption for toddlerproofing that outlet behind the headboard (both on order from Amazon), and I have plans to rework the mobile that I made to hang above his crib, but setting up the new bed was the only major change required to take this space from nursery to kid room.
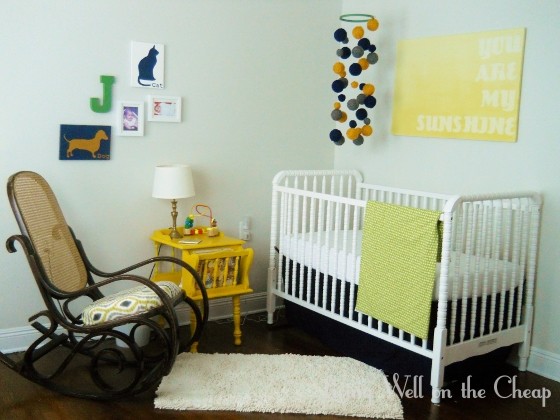
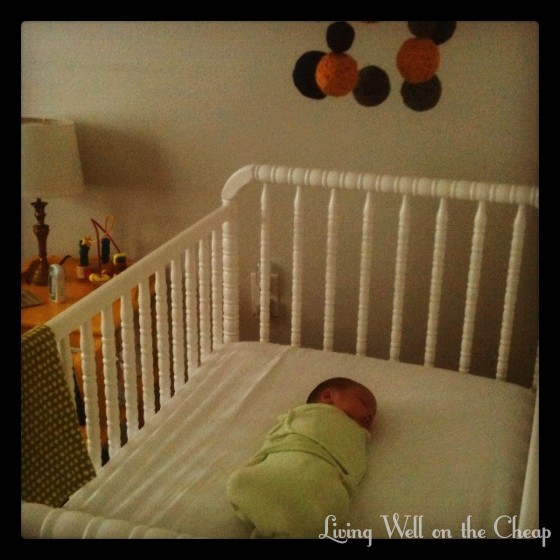
It feels like the end of an era, y’all. As I stood on his bed to remove the mobile hanging from the ceiling above I remembered being hugely pregnant and climbing into his crib to hang it a little over two years ago (I actually bent the metal mattress support standing on it with my big pregnant self). Here’s a throwback pic for nostalgia’s sake:
And OMG I can’t even.


I can’t even. He is so tall he looks even older than two! I remember painting your toe nails the day of your baby shower! Seems like just last year. Miss you!
Also, you already have a rail, so you’re probably good. But Michael and I totally did the pool noodles under the fitted sheets to keep the kids in bed on the cheap!
How wonderful! Great job assembling it! He looks so excited to have a big boy bed.