Archives For livingwellonthecheap

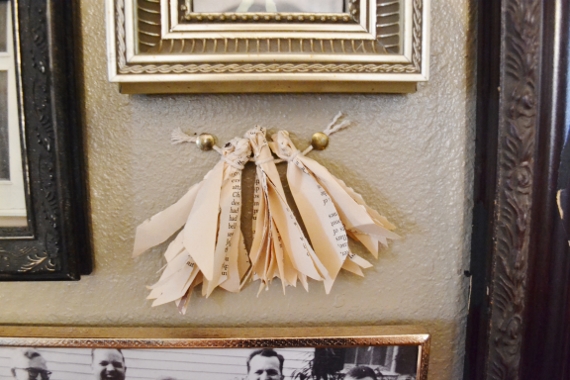
Last winter when I was making a bunch of items using vintage book pages to sell in my shop I found myself with a pile of scrap pieces of paper that I couldn’t use. So I did what any sensible person would do-I put them in a jar, hoping that someday I’d find a use for them and maybe I’d just enjoy their prettiness in the meantime. Well, my friends, that day has come. I used some of the larger scraps to make these little paper tassels that you saw on my dining room frame wall yesterday.
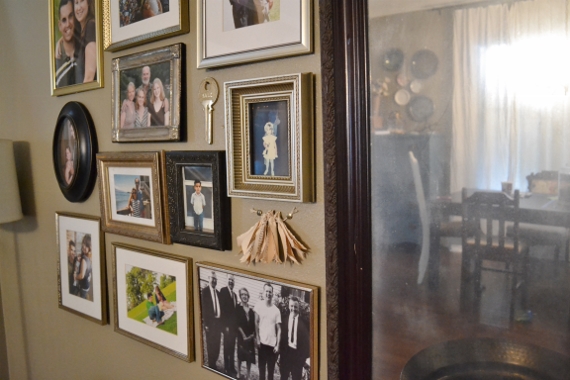
097 (570x380)

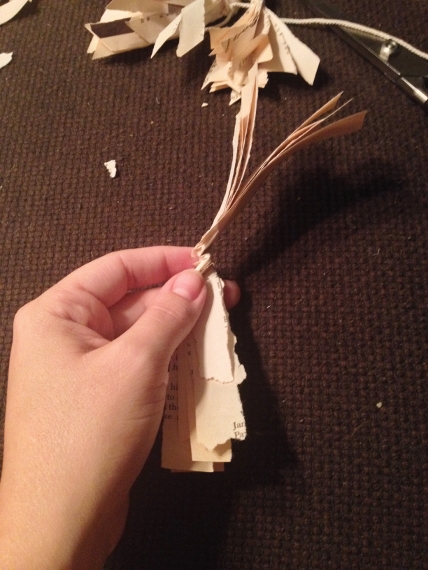
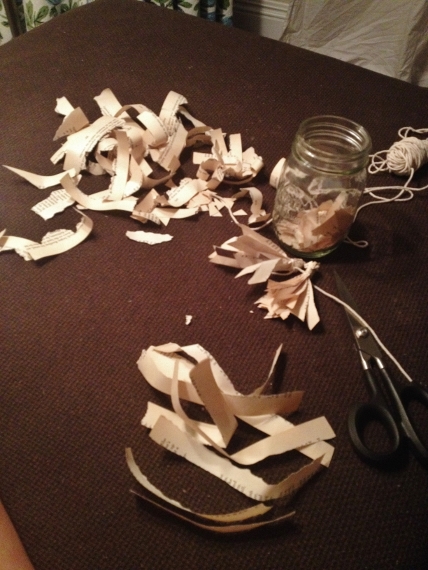
This project started on a whim while I was drowning my sorrows about LSU’s loss in a bottle of Abita Saturday night. It was only after I’d already completed the first two tassels that I thought, “hey, I should blog about this,” and snapped a few pictures with my iPhone. Step one: collect some long and thin scraps of paper. These were mostly the margins, which had too much white space to use for most other projects but worked just fine for this one.
2013-09-28 20.24.05 (428x570)

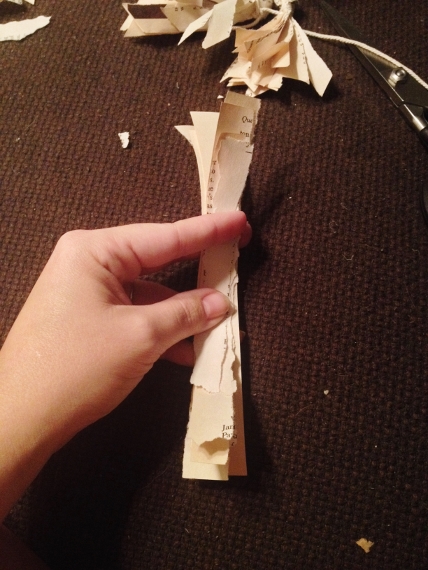
Stack them up nicely and pinch them firmly together.
2013-09-28 20.25.20 HDR (428x570)

Then twist, baby, twist.

2013-09-28 20.25.48 HDR (428x570)

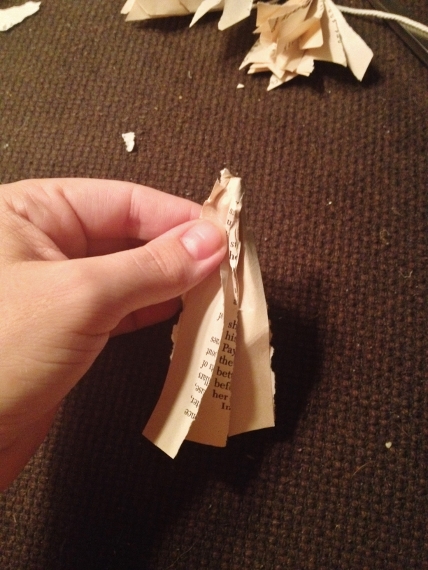
Fold over in half. More pinching.

2013-09-28 20.26.15 HDR (428x570)

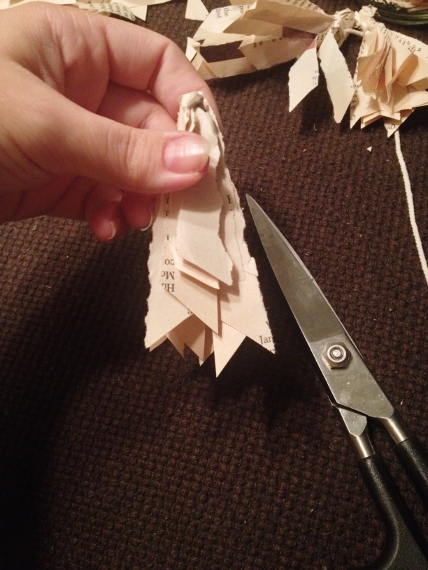
Optional: use scissors to cut the ends into points, alternating the direction of the slant as you see fit.
2013-09-28 20.29.14 HDR (428x570)

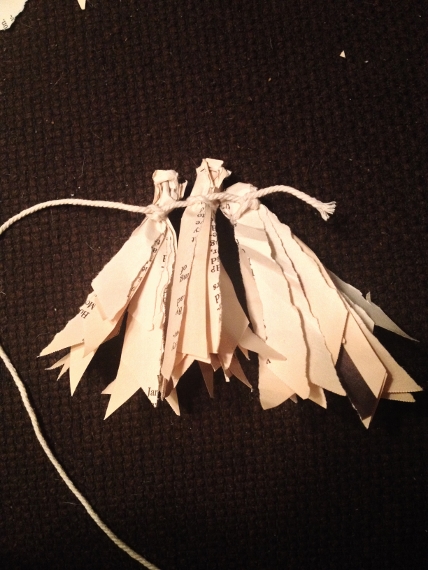
Use some thin string to tie a knot around the top and voila-you’ve got a tassel. I wanted three tassels clustered close together so I tied them accordingly.
2013-09-28 20.32.13 HDR (428x570)

I stuck them up on the wall with a couple of brass tacks that I already had. I’ll be honest-I wasn’t at all sure how they would turn out (which is why I didn’t initially think to photograph their construction), but I’m really pleased! I think it’s sort of symbolic that there are three of them. One for each human who lives here.
082 (570x380)

097 (570x380)

If you don’t have any scrap pieces of book paper lying around you can always find something worthy of destruction at a thrift store, but if that makes you squeamish you could use tissue paper, paper bags, or even fabric. Anything that doesn’t have a strikingly different reverse side should work. You can make them to any size just by cutting your strips shorter or longer. A whole garland of tassels in a warm neutral shade like this would be super cute for decorating a mantel or something of the sort for fall.

Thanks for reading, y’all, and I hope this Tuesday treats you well!

This was one of those weekends where I felt like I was constantly working on something but didn’t really get much done. There are nearly a dozen half-finished projects scattered across the house and I feel like I’m losing my mind. But one thing I like about this particular project is that even though I’m only halfway done I can actually see it coming together, creating the illusion of accomplishment.

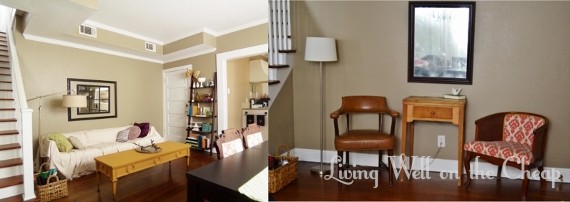
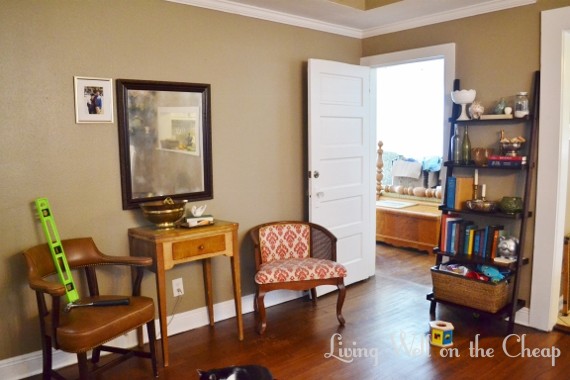
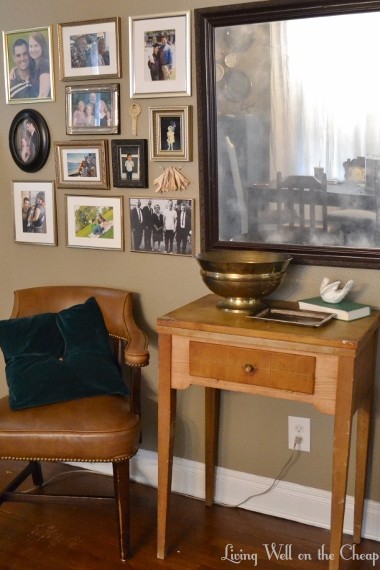
This area of our dining room has been through several incarnations. Back before I started this blog I had a dresser there that served as a buffet. Then I brought in a vintage sofa, covered it with a dropcloth slipcover, and called it a seating area. But recently I sold the sofa and coffee table and replaced it with a pair of vintage chairs and an old sewing table. The new setup allows much more room for Jack to play while I’m working in the kitchen and is easier to keep clean. A few weeks ago I hung an antiqued-ish mirror above the table, but it was still looking a little sparse for my taste and I knew that I wanted to hang more art and photos to fill the space above the chairs.

Picture1 (570x202)

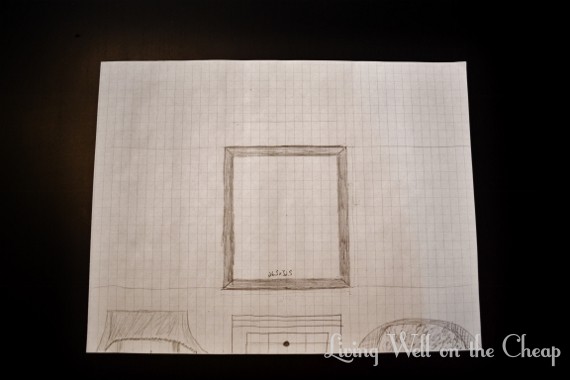
I really wasn’t sure where to start, so I got out some graph paper to sketch it. As soon as I had it on paper I decided I wanted to have two clusters of frames that were each the same size and shape as the mirror. I feel like I’m not doing a good job of describing it but you’ll see soon enough.

012 (570x380)

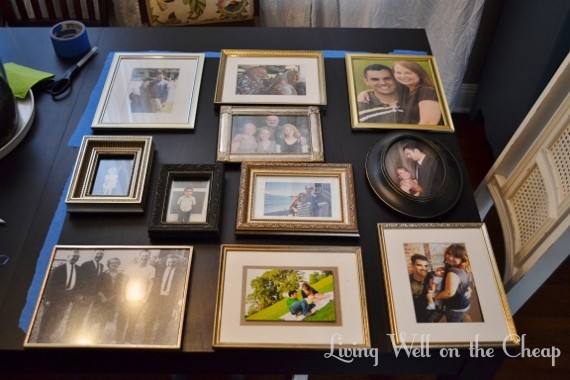
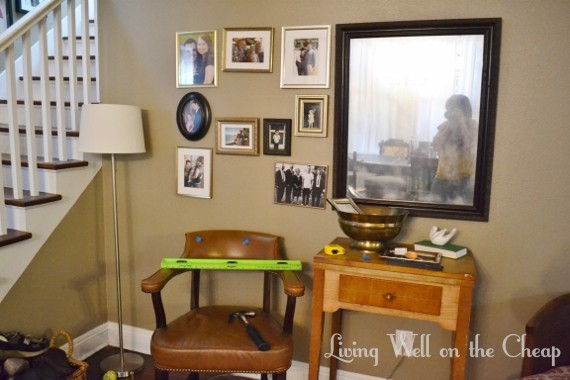
I measured out the size of the area I wanted to fill on my dining table, marked the edges with painter’s tape, then filled it in with frames I already had

017 (570x380)

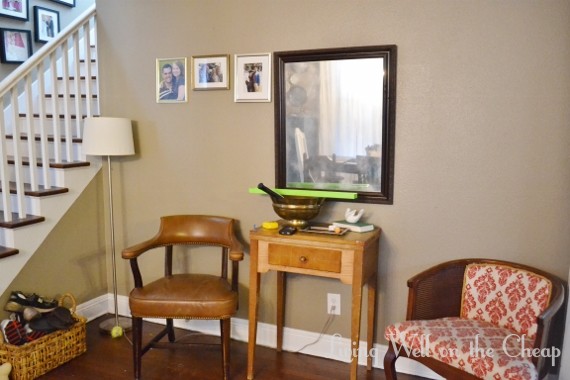
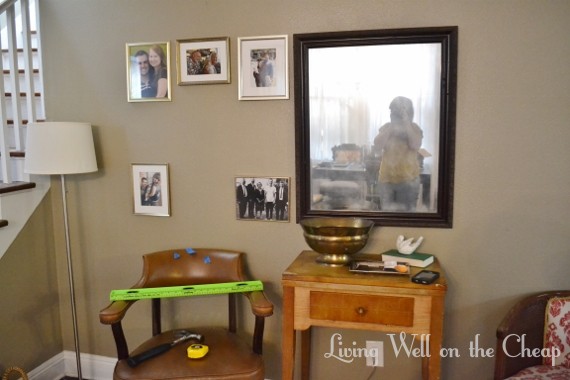
Once I had my arrangement loosely planned it was only a matter of hanging the first frame. I measured and marked so that the top of the frame would sit exactly level with the top of the mirror.

029 (570x380)

I continued along the top row, keeping the tops level and spacing them so that the width of all three frames together was the same as the mirror.

042 (570x380)

Then I moved down to the bottom corners. At some point I started using bits of painter’s tape to mark various spots as I measured.

045 (570x380)

More frames…

047 (570x380)

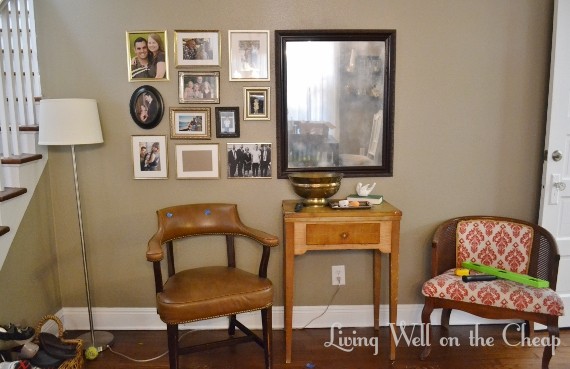
Eventually all my frames were hung and I’d only made maybe half a dozen unnecessary holes. I’m gonna call that a win.

052 (570x369)

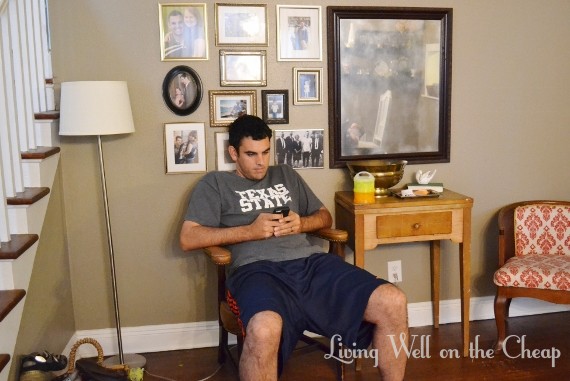
I was a little worried about the frames being so low right next to a chair, but shortly after I finished hanging them I walked in and found Nick sitting there completely unbothered. After he got up I used some museum putty to help stick all of the frames in place. This way they won’t drive me crazy by looking crooked every time I walk by or get messed up if someone brushes against them. Museum putty is a lot like sticky tack, except supposedly stronger but I don’t see a big difference. It’s awesome for securing pretty things in a house with not-so-careful people and animals. I need to use that stuff on the frames on our stairs!

058 (570x381)

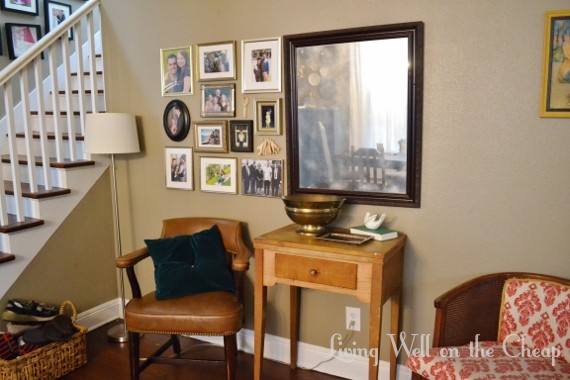
The next day I filled in the last frame with a photo I had printed at CVS and added some little whatnots to the larger empty spaces (I already had the big key; more on the paper tassels tomorrow).

097 (570x380)

Nick was facetiming with his mom that night and when she caught a glimpse of the frame wall in the background she complimented it and said that I needed a colorful pillow to sit in that chair. I completely agreed and searched my house for the perfect pillow right then and there. This one might not stay forever but I dig it for now. If you look to the far right in this photo you can see that I’ve already started on the other side. I need to make a run to the thrift store for more frames and probably get a few more photos printed before I can finish filling it in.

099 (570x380)

If I close one eye and focus only on this spot I can almost imagine that I managed to complete an entire project from start to finish. Almost.

108 (380x570)

Next up: hanging more frames, adding some toy/game storage under the table, and maybe switching out the glass in the big frame for a real mirror to replace my fake antiquing attempt-I’m still not sure how I feel about it. Thoughts?

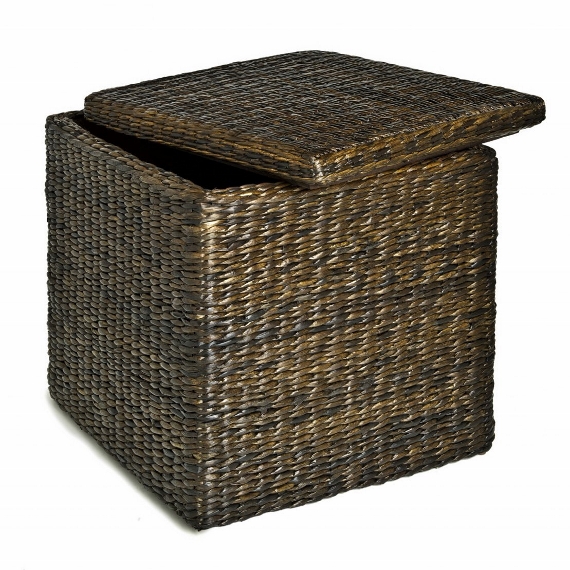
Happy Friday, party people! My brain is absolutely fried after a week full of math and science and very little creativity. I can’t wait until the first of the month when I have some money and can just go freaking shopping again. I’ve had my eye on this from Target for over a month but since it’s only available online I decided to get a Target debit card so I could get free shipping, which required a trip to the store to apply in person and then a week long wait for the card to come in and by then I was of money (note: I have money to spend on other things, like food and necessities, but my home decor budget is usually blown early in the month). Well, now I just found the same exact ottoman on Amazon where I could’ve gotten free two-day shipping without all the hassle.

target storage ottoman (570x570)

Seville Classics Rush Cube Storage Ottoman, Mocha
In case you missed it, I finally got around to making a facebook page for my blog! You can “like” it to keep up with blog posts and photos I post to Instagram. What else do bloggers do with their facebook pages? I’m sort of at a loss here, which is why I didn’t create one sooner. But I wanted a way to connect with readers on facebook while keeping my personal account to people I know personally so here ya go. Still working on the perfect cover photo, obvs.

facebook page (570x253)

Living Well on the Cheap on Facebook

Are you familiar with TED? It’s a nonprofit that puts on conferences where speakers from various fields are asked to give “the talk of their lives” in 18 minutes or less. Videos of the talks are put online for the whole world to watch at their leisure. I’ve been hitting the gym every day and watching TED talks using the iPhone app while I work the elliptical. This one was especially inspiring to me.

ted (300x300)

TED

That’s all I’ve got for today. I hope you each have a wonderful weekend! I’m hoping to put my coding woes behind me (the navigation bar at the top of my blog is black and I want it to be white, total first world problem) and knock out some projects that have been on my to-do list for weeks. Wish me luck!

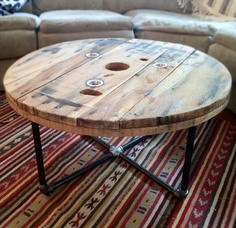
I distinctly remember sitting in trigonometry class and thinking snidely that it was a complete waste of my time. It was at the height of my “teenage rebellion” and I was probably wishing I’d skipped school that day to hang out with my boyfriend (who, of course, had already gotten his GED in juvie. Shout out to Brad if you’re reading this!). Well, eleven years later I find myself watching youtube videos on how to use cosin in the name of decorating. It all started out when I saw this table online and thought I could recreate something similar, but with the proportions of a nightstand instead of a coffee table:

9f365a768da76cb8de15f98dfc673ba9

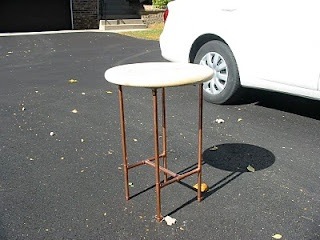
I was able to find a tabletop, copper pipe, and elbow fittings with no problems, but the piece in the middle where they all come together eluded me. So then I thought I would make one like this instead:

2013-09-15 09.57.55

But that would require me to go back to the store for y-fittings and more pipe, as the ten foot length that I bought wouldn’t be enough to make four 27″ legs and have enough left over for the stretchers. So then I thought I would do this:

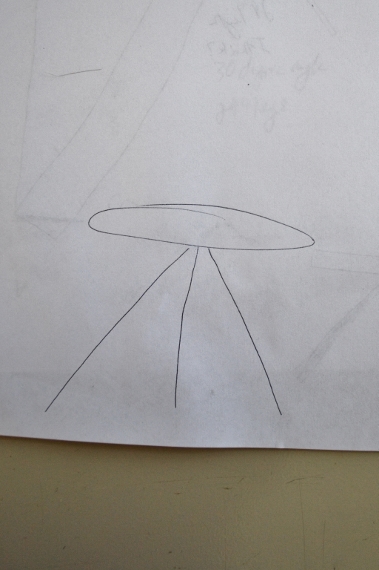
001 (379x570)

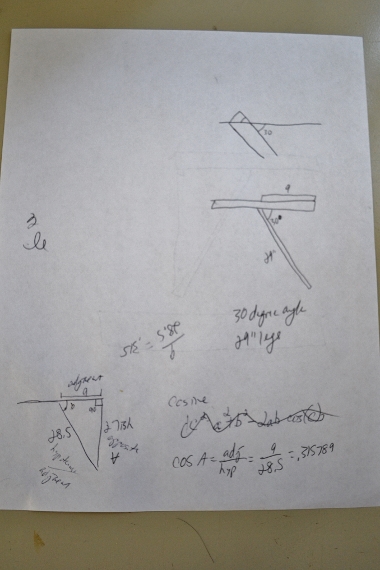
A three-legged table with angled legs coming out from the center. I kind of liked the modern feel of it and figured it wouldn’t be too difficult. This is where the trigonometry comes in-I needed to figure out at what angle to cut the legs and how long to make them. Feel free to LOL at my work below if you are actually a math person.

004 (380x570)

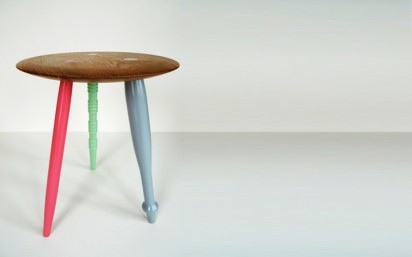
I was so proud of myself for figuring out that I wanted a 30° angle between the leg and the table, only to have my spirit crushed when I realized I had no idea what that meant for cutting the pipe. So I texted my math-whiz friend Sarah (note to all of my other friends who are good at math-you are all good at math. Please don’t be hurt that I didn’t text you instead) and I think she was kind of confused by the diagrams I kept sending her. She said things like, “Umm…what are the things in that picture?” And then she drew a diagram of her own but she still didn’t know the answer. She eventually just suggested I make something like this instead, cutting the legs at just a 15° angle:

diy-3-legged-table-412x257


Design for Mankind

Yes, that does look quite a bit easier. I think I’ll do that, I guess? This is where you guys come in. How should I attach the legs to the table? Am I making this more complicated than it needs to be? Between this and some coding issues on my blog math and science are giving me quite the beating this week. Yesterday I felt like I’d been working hard through Jack’s entire afternoon nap, then I looked up and realized the house was in shambles and I had accomplished absolutely nothing. Trigonometry and CSS for the win. I don’t know what I’d do without all the technically-inclined folks in my life helping me out!