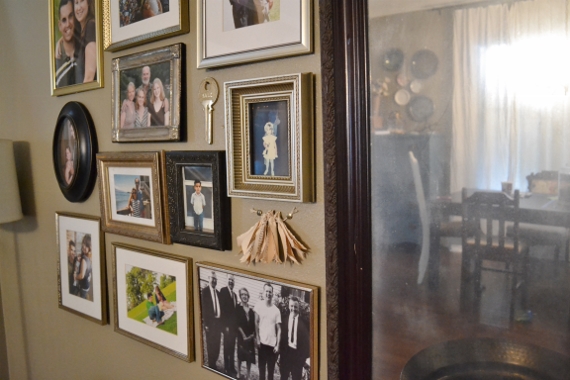
Last winter when I was making a bunch of items using vintage book pages to sell in my shop I found myself with a pile of scrap pieces of paper that I couldn’t use. So I did what any sensible person would do-I put them in a jar, hoping that someday I’d find a use for them and maybe I’d just enjoy their prettiness in the meantime. Well, my friends, that day has come. I used some of the larger scraps to make these little paper tassels that you saw on my dining room frame wall yesterday.
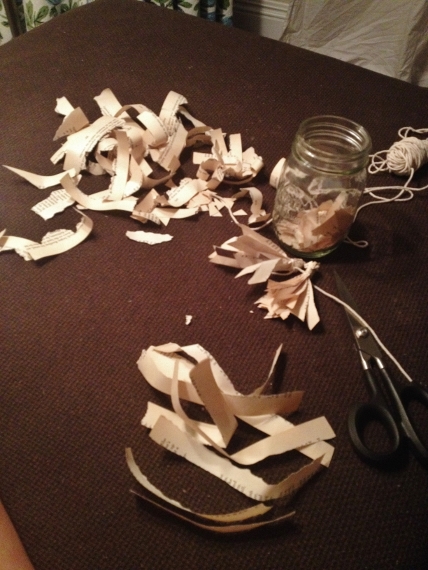
This project started on a whim while I was drowning my sorrows about LSU’s loss in a bottle of Abita Saturday night. It was only after I’d already completed the first two tassels that I thought, “hey, I should blog about this,” and snapped a few pictures with my iPhone. Step one: collect some long and thin scraps of paper. These were mostly the margins, which had too much white space to use for most other projects but worked just fine for this one.
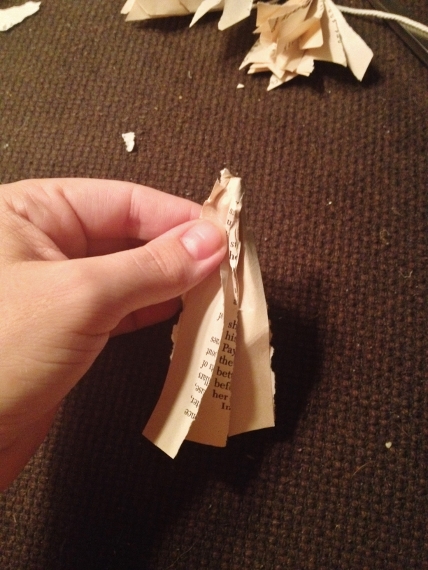
Stack them up nicely and pinch them firmly together.
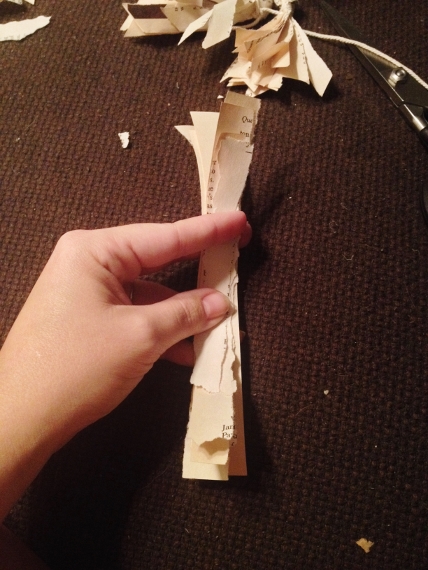
Then twist, baby, twist.
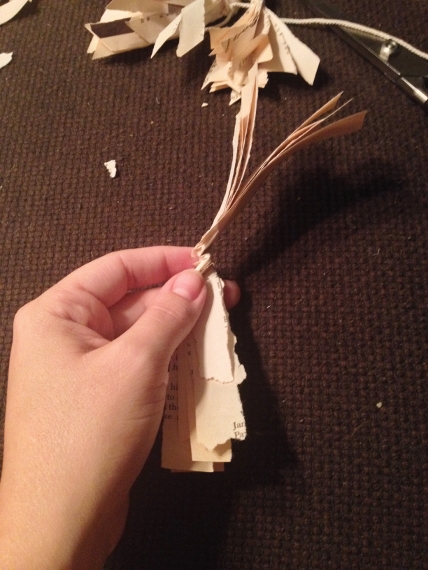
Fold over in half. More pinching.
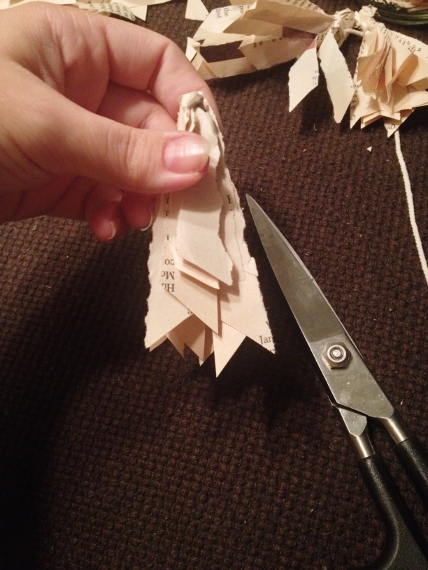
Optional: use scissors to cut the ends into points, alternating the direction of the slant as you see fit.
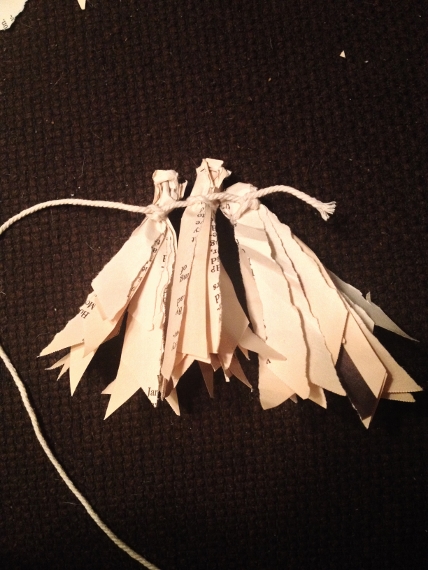
Use some thin string to tie a knot around the top and voila-you’ve got a tassel. I wanted three tassels clustered close together so I tied them accordingly.
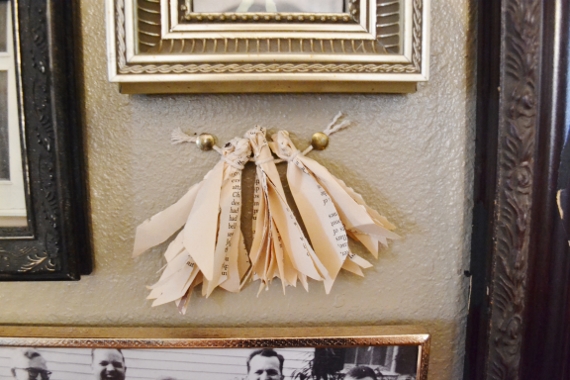
I stuck them up on the wall with a couple of brass tacks that I already had. I’ll be honest-I wasn’t at all sure how they would turn out (which is why I didn’t initially think to photograph their construction), but I’m really pleased! I think it’s sort of symbolic that there are three of them. One for each human who lives here.
If you don’t have any scrap pieces of book paper lying around you can always find something worthy of destruction at a thrift store, but if that makes you squeamish you could use tissue paper, paper bags, or even fabric. Anything that doesn’t have a strikingly different reverse side should work. You can make them to any size just by cutting your strips shorter or longer. A whole garland of tassels in a warm neutral shade like this would be super cute for decorating a mantel or something of the sort for fall.
Thanks for reading, y’all, and I hope this Tuesday treats you well!