
As excited as I was to move Jack out of the crib, I was a tiny bit heartbroken when I realized I’d soon be taking down the mobile I so lovingly created. I hated to just cast it aside.

I’ve got a plan to reuse the yarn balls, but first I tackled a smaller project: creating a piece of embroidery to fill the green painted hoop. I started working on it several weeks ago using a spare embroidery hoop, then just moved it over to the green one after we’d set up Jack’s new bed and taken down the mobile. My first attempt involved tracing an image of tree rings that I found online. When it was finished I wasn’t sure about the outcome so I texted a picture to my friend Lauren and asked what it looked like to her.


So with that I started over, this time keeping it simpler. I used a backstitch for the rings and lettering and two rows of split stitches for the bark. And to avoid any unintentional resemblance to anatomy I stitched his name in the center instead of ever-narrowing rings. It’s supposed to look like his name was scrawled on a tree stump.


The green and brown are perfect accents in his room.
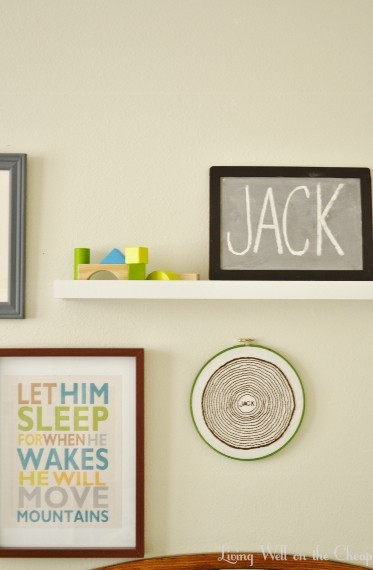
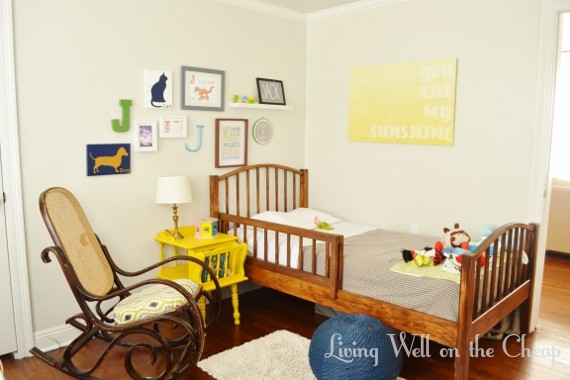
I love the addition of something round to the collection of items on his wall. I’d like to add something else to the right side but I’m not quite sure what yet.

It’s kind of symbolic-the rings of a tree are a visual marker of growth and this is a space for a growing child to play and rest.
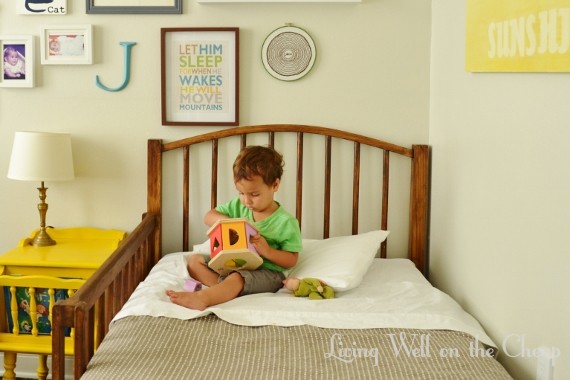
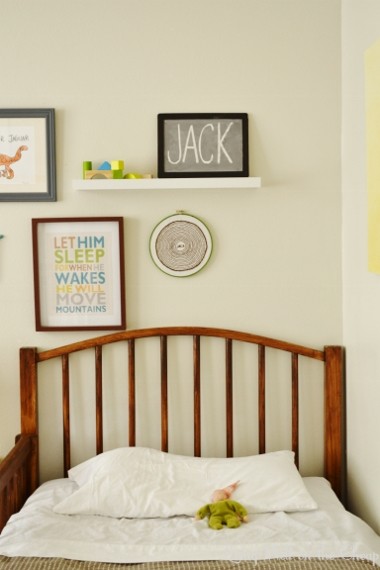
It’s hung on the wall with a nail and secured in place with some museum putty. Since he’s not confined to the crib anymore I went ahead and added a bit of putty to everything else on the wall, too, just to make sure that he doesn’t accidentally pull something down and hurt himself when he’s in there alone.
I’ve been working on this embroidery project on and off since May so I’m thrilled to finally have it completed. Next project: stringing those yarn balls into a garland to hang from the ceiling!


I love it!! Seriously awesome job of revamping the lady parts to something less R rated. Hehehe
hahaha your text exchanges were hilarious! great job, i absolutely love this idea. i want to make one for my son’s room, any chance you’ll be doing a simple embroidery tutorial any time soon?
Ummmm that is an excellent idea! Thanks for suggesting it!